The Embedded Sign-up process
You're now ready to proceed with the embedded signup process on the Javna CPaaS platform after completing the prerequisites and being redirected to the homepage. Here's what you need to do next:
- Navigate to the “Guide & Setup” page by doing one of the following:
- Click on the "Get started" button on the WhatsApp channel pane in the "Home" page of your profile.
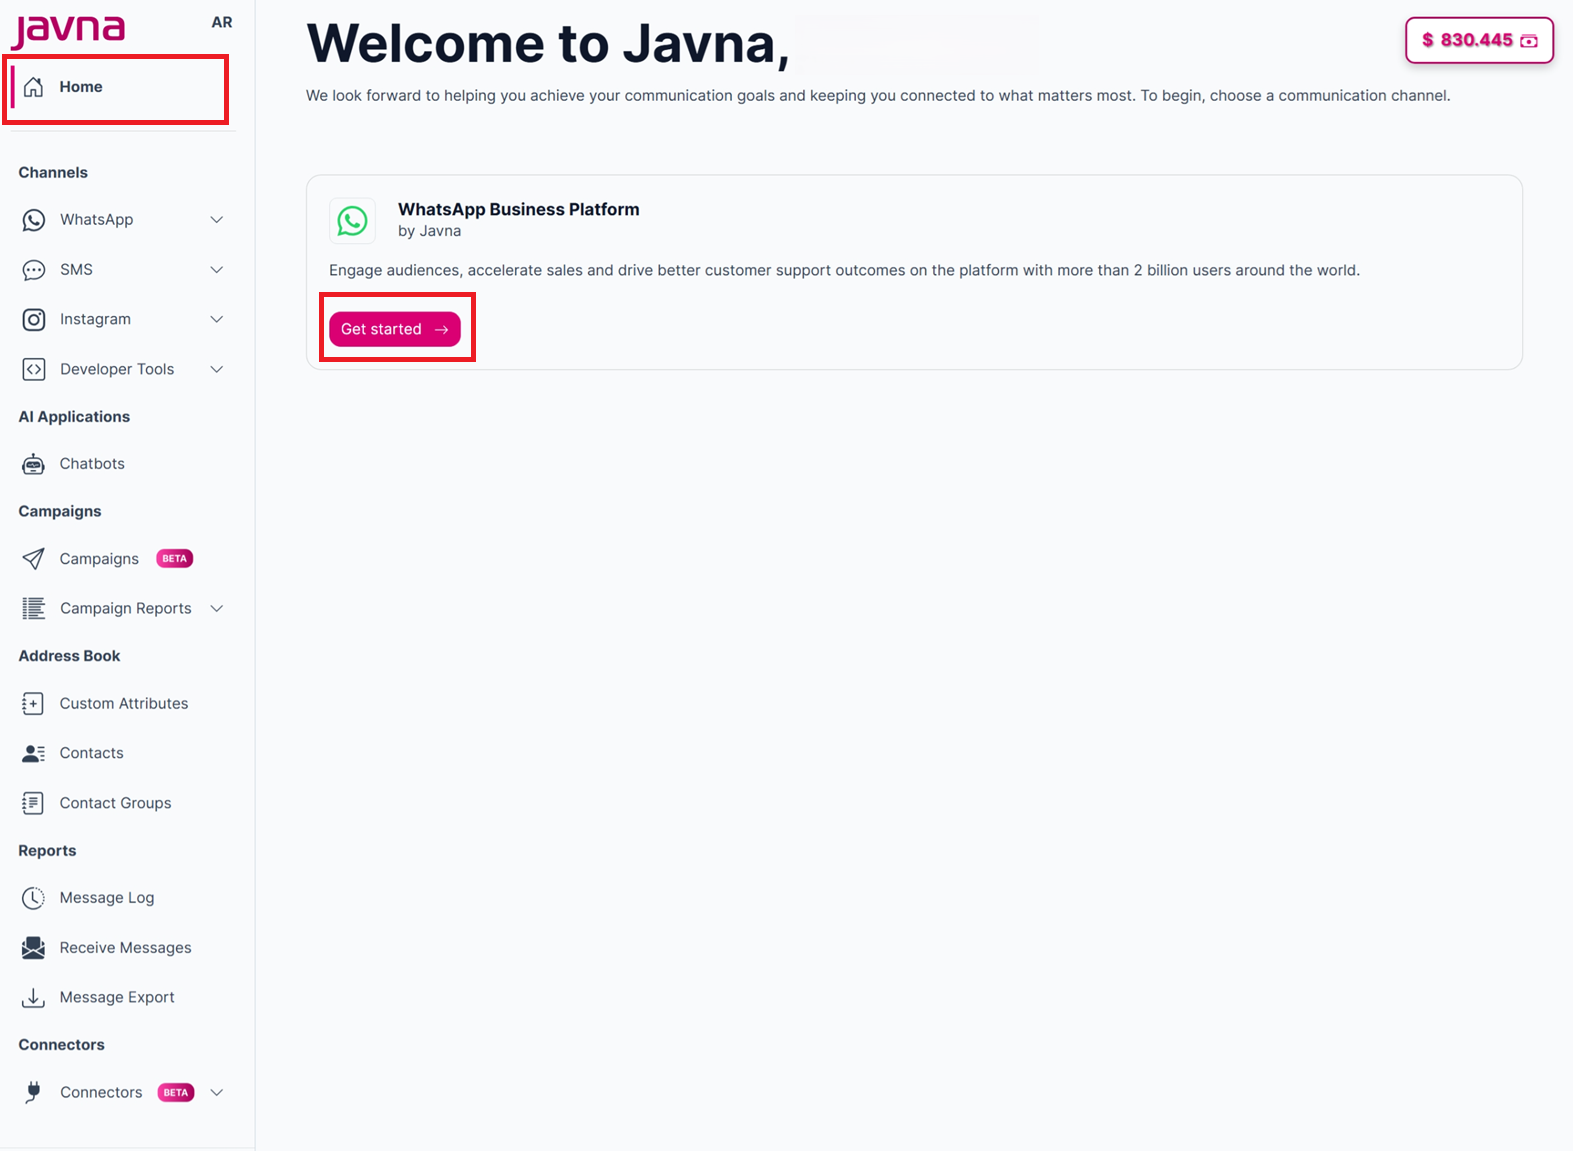
Clicking on the "Get Started" button from the "Home"
- Click on the "Guide & Setup" button under the WhatsApp submenu on the left.

The "Guide & setup" page
When you click on either button, you'll be redirected to the “Guide & Setup” page.
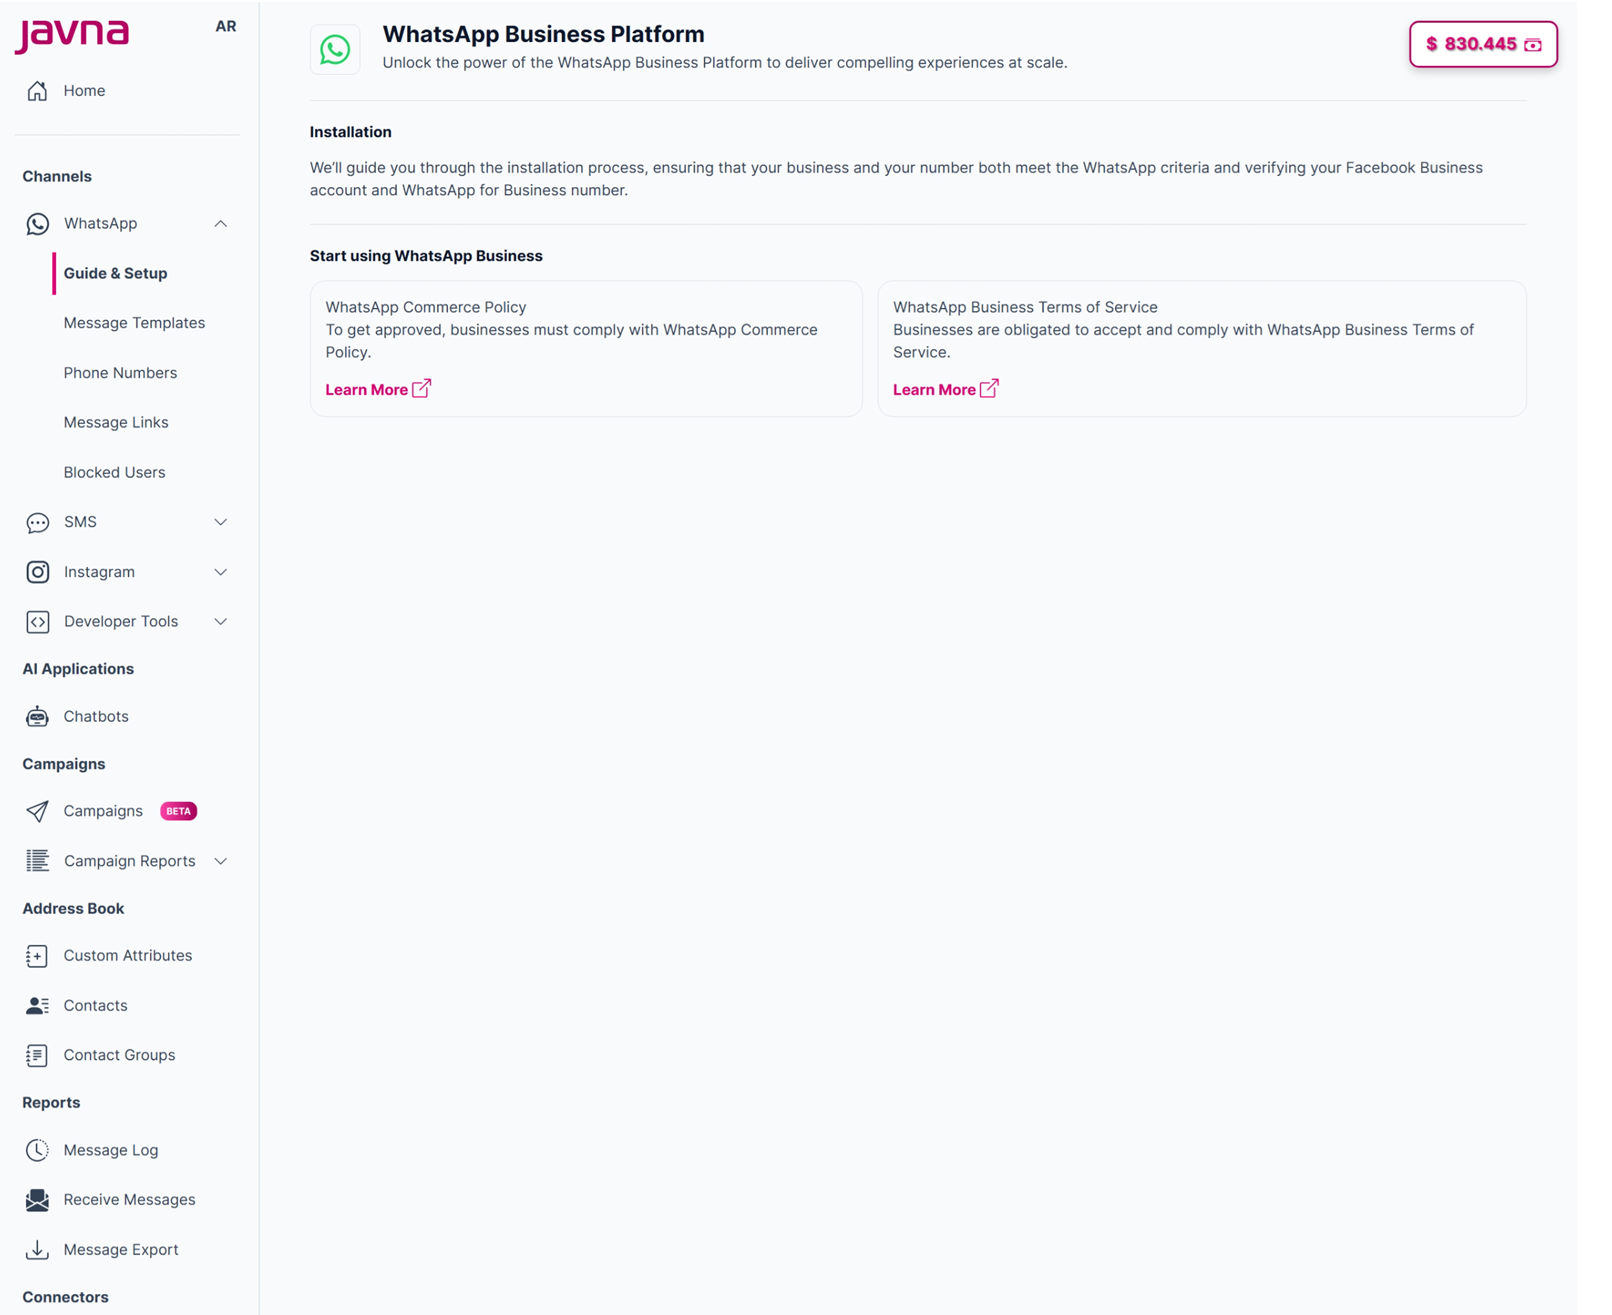
The "Guide & Setup" page
-
Click on the “Connect WhatsApp Number” button.
-
Make sure you're logged into your Facebook account. Once logged in, click "Continue as [Your Name]". This allows Javna CPaaS to access your name and profile picture.
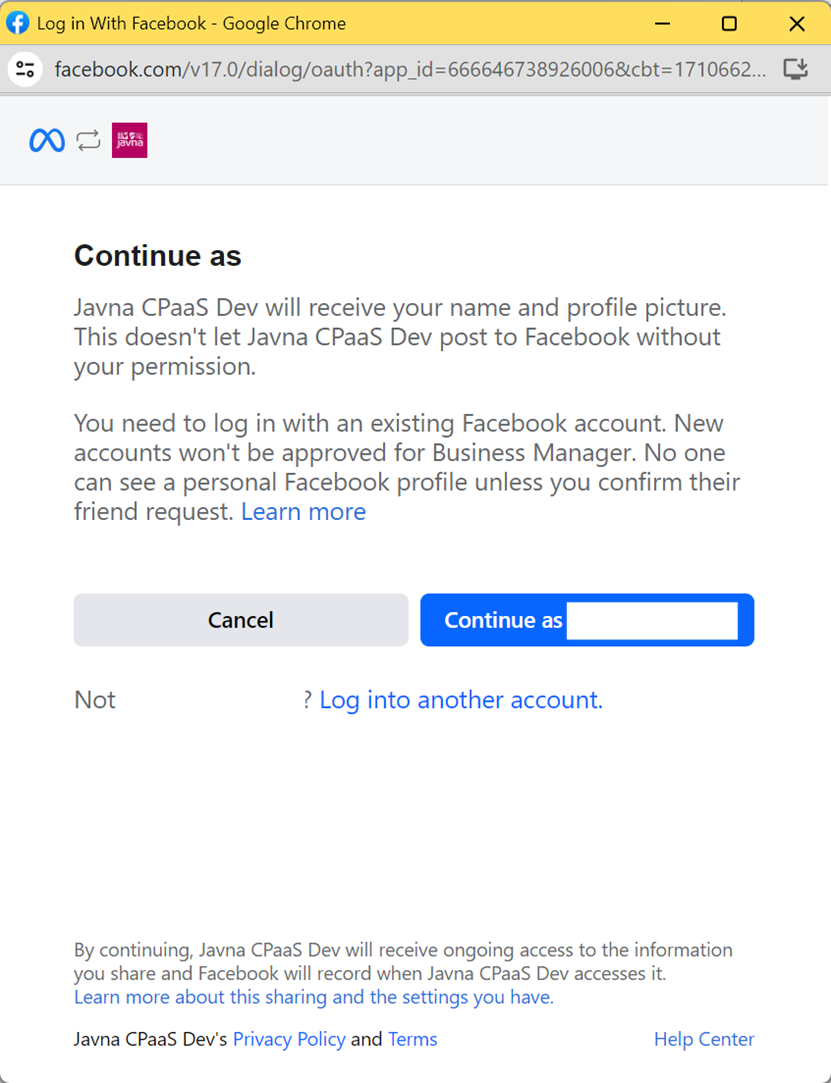
Continuing as (your name).
- Click on the "Get Started" button to connect your account. By doing this, you agree to the WhatsApp Business and Meta Terms of Service and let Javna manage your account.
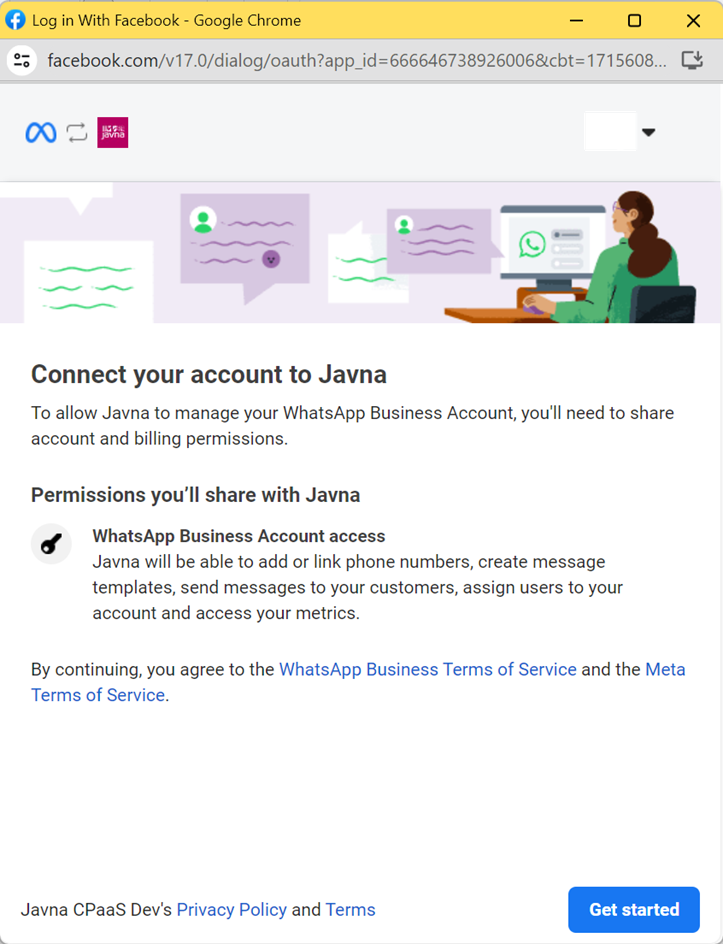
Connecting your account to Javna Cpaas.
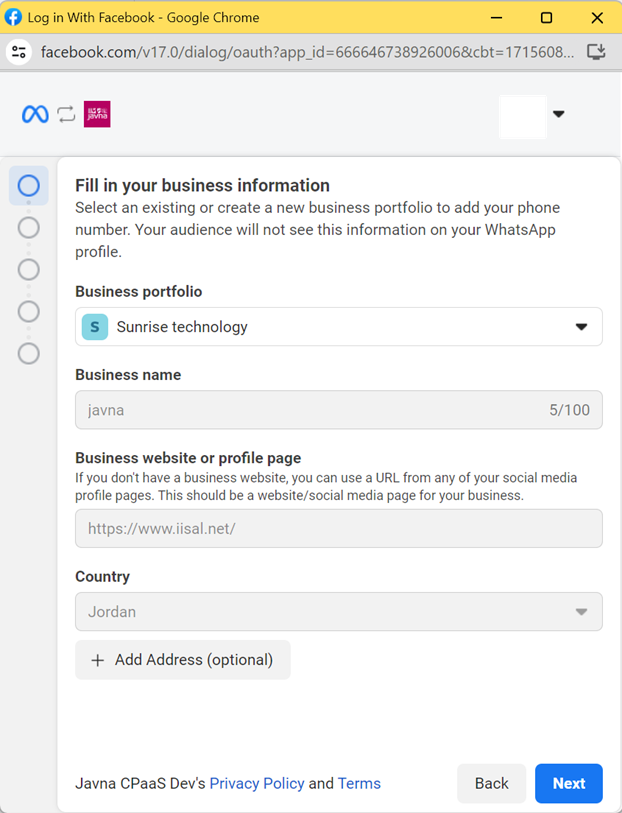
- Select an existing or create a new business portfolio (Business Manager account or simply Business account) to add your phone number.
Your audience will not see this information on your WhatsApp profile.
To create a new account, follow these steps:
a. Enter your business name and website or profile page.
b. Select your country and optionally add your address.

Creating New account.
For selecting an existing account, follow these steps:
a. If the account is not verified, you can edit details such as business name, website or profile page, country, and address.
b. If the account is verified, you can't edit its details.
Selecting an existing account.
- Select or create a WhatsApp Business Account to connect with your Meta Business Account. You can either select an existing account or set up a new WhatsApp Business Profile, then click on the “next” button.
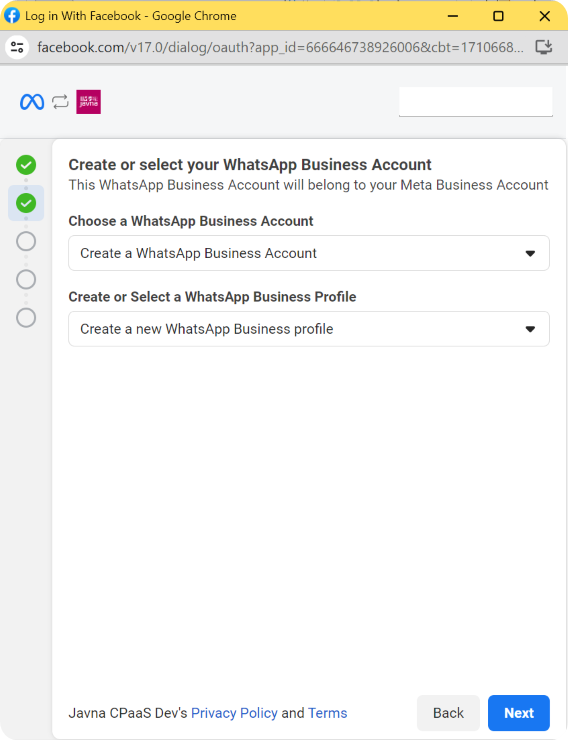
Creating or selecting your WhatsApp Business Account.
- Create Your WhatsApp Business Profile by following these steps:
a. Enter a “WhatsApp Business Account Name”.
Your audience won't see this information on your WhatsApp profile.
b. Enter your “WhatsApp Business Display Name”.
- Ensure it aligns with your business name and adheres to WhatsApp Business display name guidelines.
- It is important because any business must add a display name to message customers.
- The display name must be approved by Meta.
Try to capitalize each word in both names to have more chances of being accepted by Meta.
c. Choose the category and provide a brief business description.
Both the category and business description will be visible to customers who message the business.
d. Click on “Show More Options” button, then choose the time zone.
Your audience won't see this information on your WhatsApp profile.
e. You can optionally enter a business description and website.
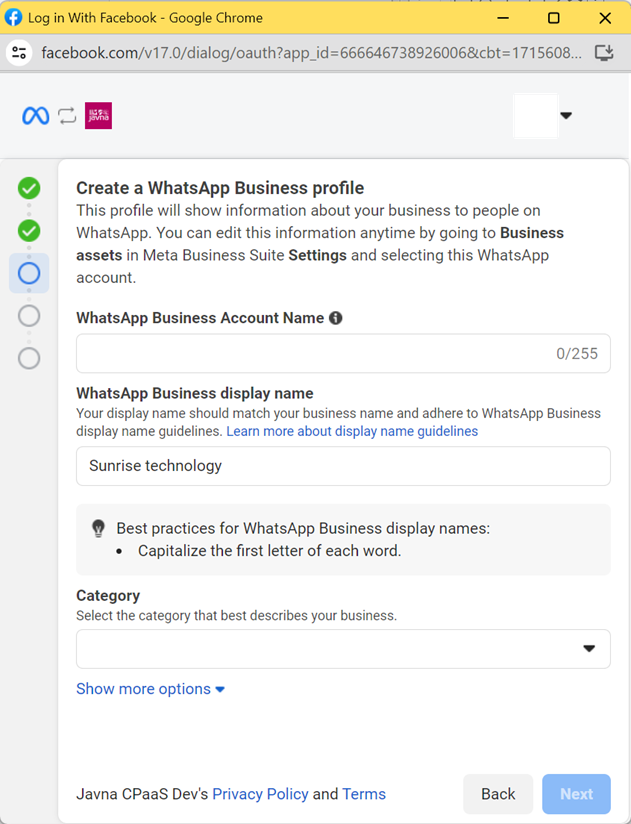
Creating a WhatsApp Business profile.
- Add a phone number that isn't currently registered to either WhatsApp Messenger or the WhatsApp Business App
This will be the number displayed when people chat with you.
- You'll receive a verification code for this number. Choose how you'd like to verify your number:
- Text message. You will receive an OTP message on your carrier.
- Phone call, if you're using a landline number, select “phone call' for verification.
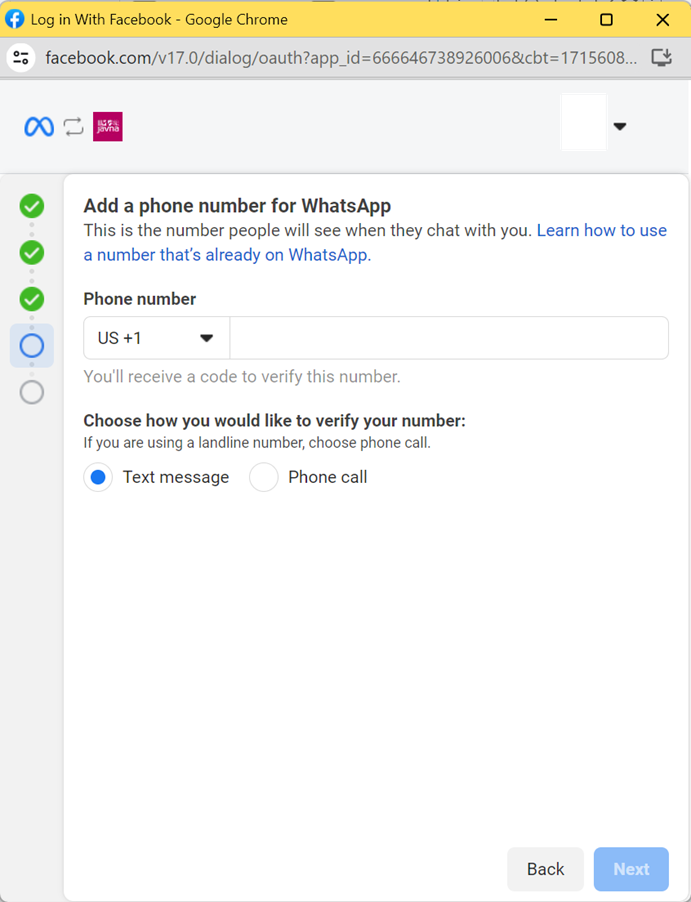
Adding a phone number.
- Click on the “Continue” button to approve the permissions requested by Javna CPaaS.
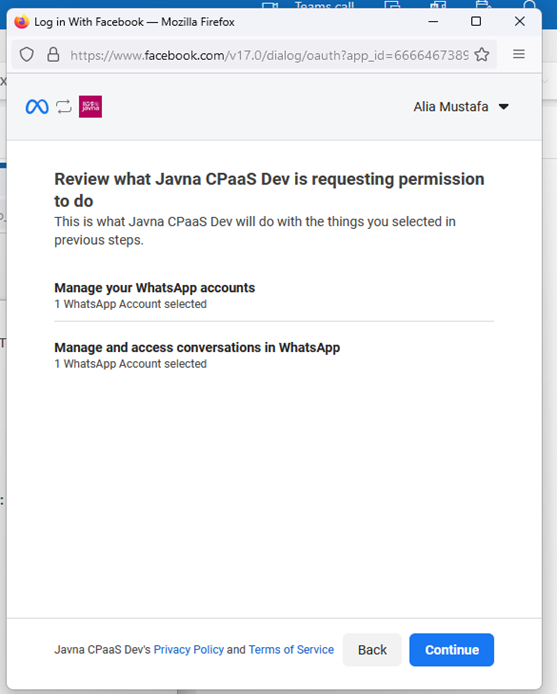
Approving the permissions requested by Javna cpaas.
- Please wait a few minutes until your information is verified.
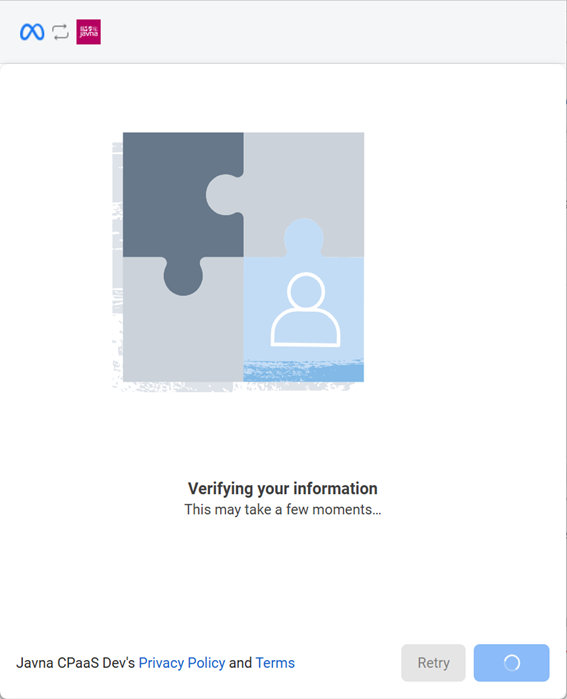
Verifying your information.
- Click on the “Finish” button to begin using our WhatsApp channel.
To increase messaging limits, verify your business account.

Finalizing the embedded sign-up process
- You're now officially onboarded and ready to start messaging your clients via our WhatsApp channel.
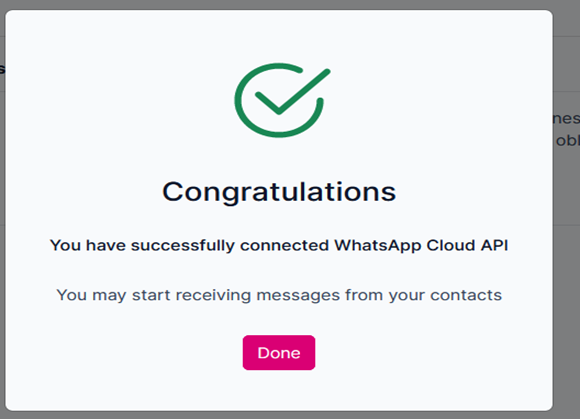
Connecting WhatsApp successfully
You can familiarize yourself with the essential policies and terms of service necessary for approval and compliance by clicking on the "Learn More" button on the "Guide & Setup" page.
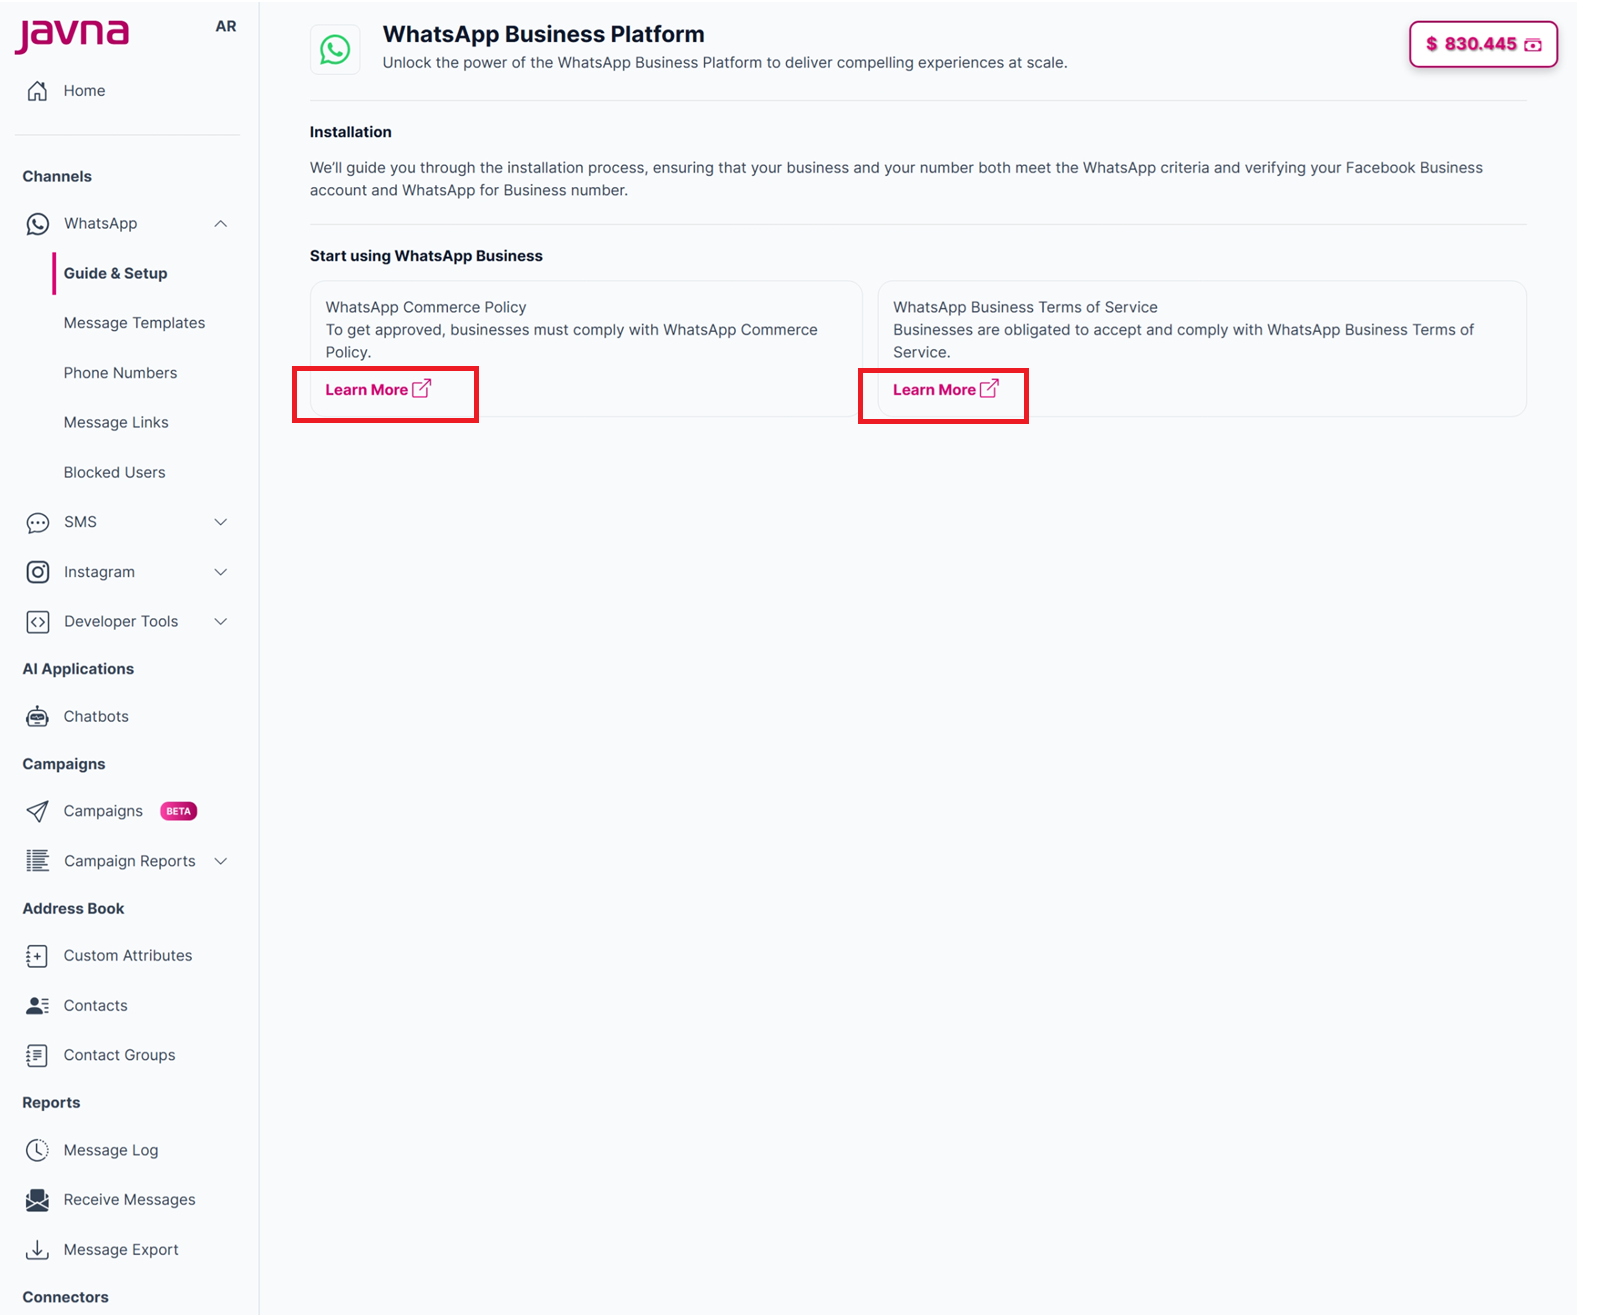
The "Learn more" buttons