Creating a new campaign
You can Create a New Campaign by following these steps:
- Log in to your account.
- Navigate to the “Campaigns” page.
- Click on the “New Campaign” button, which is located at the top of the Campaigns page. You will be redirected to the “New Campaign” page.
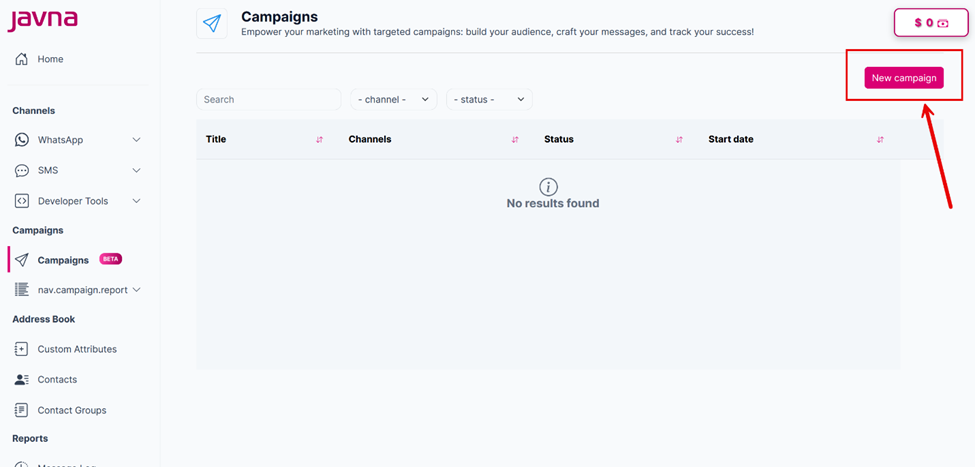
The "New Campaign" button.
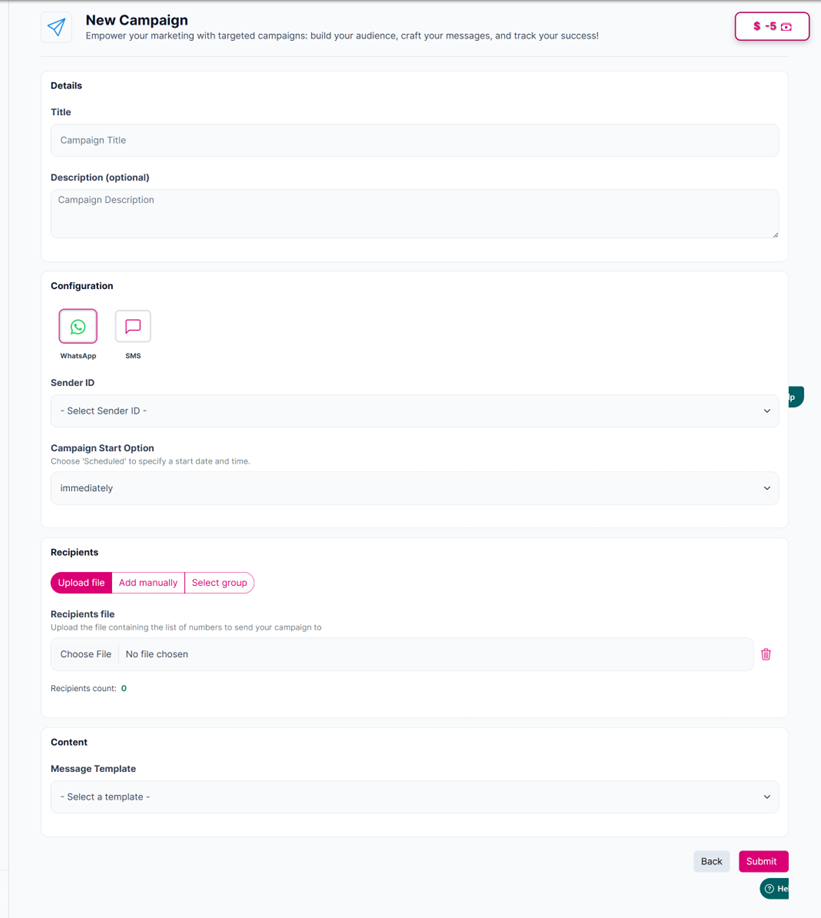
The "New Campaign" page
- Provide Campaign Details by filling in the following fields:
- Title: Enter a descriptive title for your campaign. This field is mandatory.
- Description: Provide a brief description of your campaign. This field is optional.
- Choose the communication channel you want to use; you can choose either of the following:
- WhatsApp: If you select WhatsApp as your communication channel, you will need to choose a WhatsApp Business Number from a dropdown menu. This field is mandatory.
- SMS: If you select SMS as your communication channel, you will need to choose an SMS Sender ID from a dropdown menu. This field is mandatory.
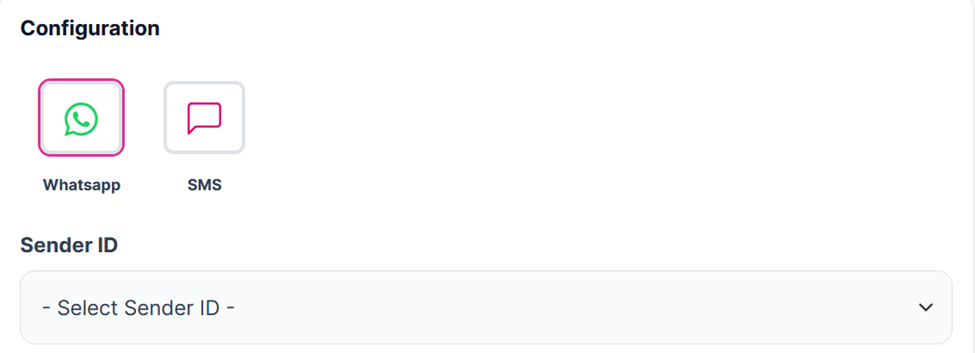
Select the communication channel, then the sender Id.
- Choose when the campaign will start:
- Immediately: The campaign will begin as soon as it's submitted.
- Scheduled. If you choose to schedule the campaign, provide the following details:
- Time Zone: Select the appropriate time zone. By default, this will be the time zone of your browser.
- Campaign Start Date: Choose the date when the campaign should start. The default is today's date.
- Hour: Set the hour for the campaign to start. The default is 0, with a range from 0 to 23.
- Minutes: Set the minutes for the campaign to start. The default is 0, with a range from 0 to 59.
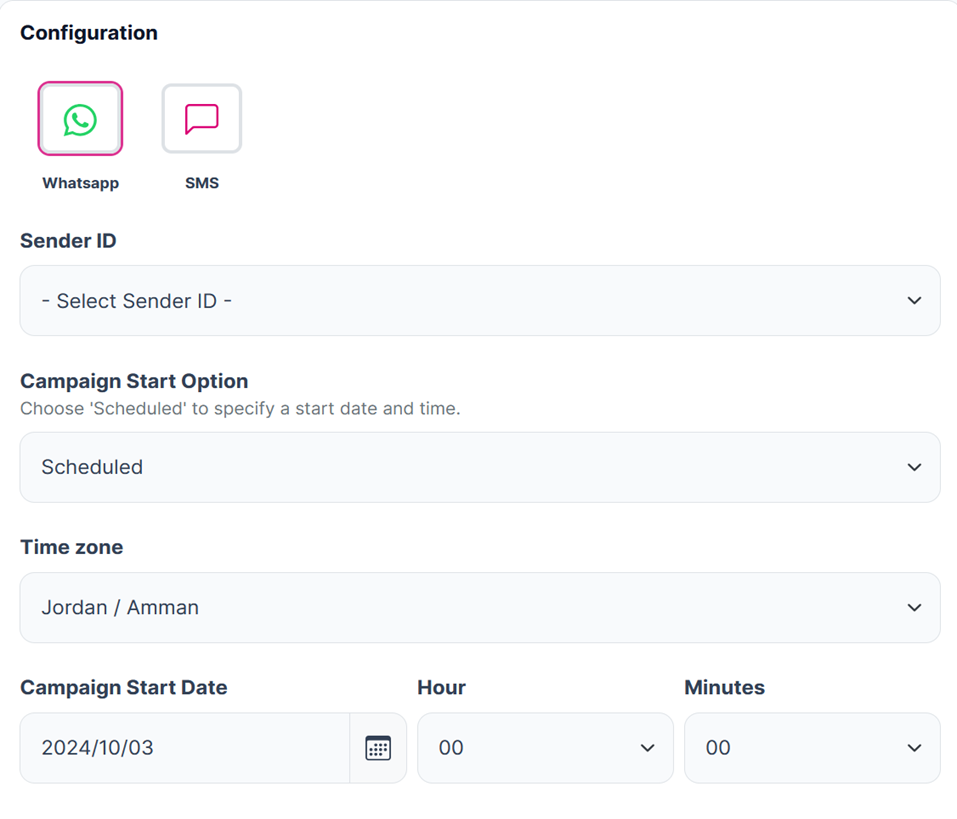
Setting up the time zone, campaign start date, hours, and minutes.
- Select one of the following options to define your recipients:
- Upload File: Upload a CSV file with the list of numbers.
- Add manually: Enter numbers manually, and make sure that it is separated by commas.
- Select group: Choose a predefined recipient group.
The “Recipients count” will display 0 by default. This will update once you add your recipients.
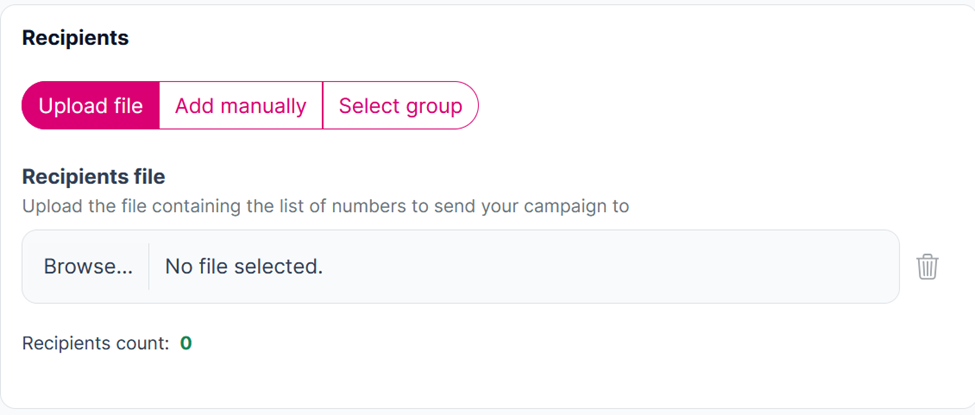
Entering the recipients.
- Compose Your Message:
- If you selected SMS as your communication channel, enter your message in the SMS Body field.
The SMS Body will display the character count (Chars: 0) and the number of message parts (Parts: 0) by default. These values will update as you type your message.
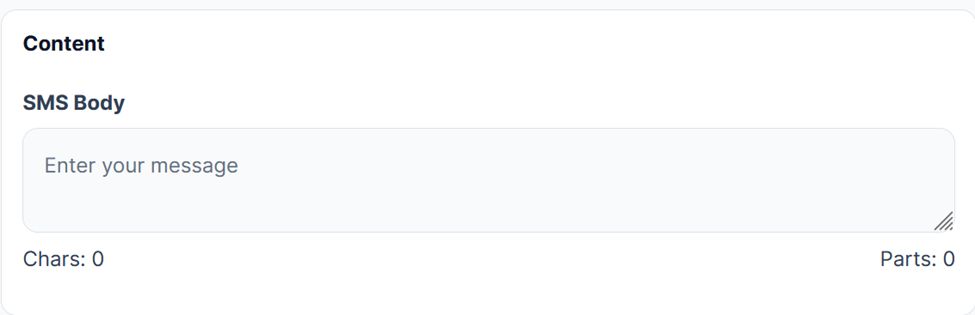
The SMS Body
- If you selected WhatsApp as your commination channel, choose a message template from the available options.
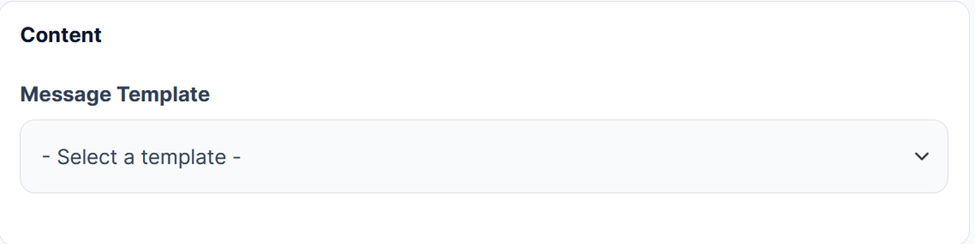
Selecting the message template.
Important Notes in Message Templates:
If the selected message template includes Quick Reply Buttons, you will need to fill in a value for each button.
This value will not be visible to recipient users for your message, but it will be sent to the business as an inbound message when the user clicks the button.
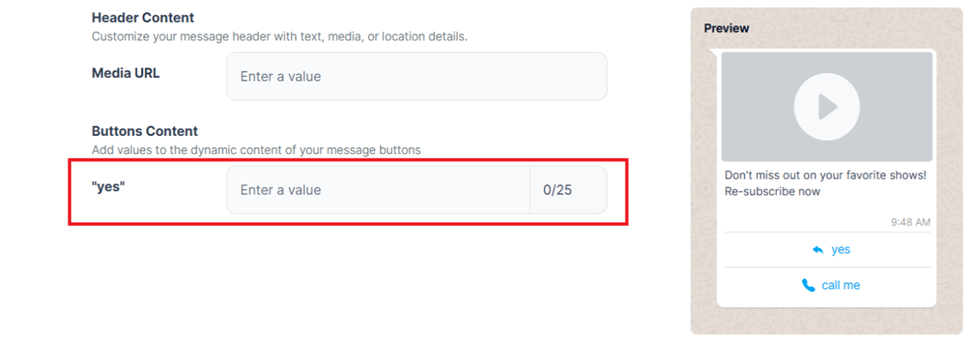
The "Quick Reply Buttons".
For buttons like "Copy Offer Code" or "Visit Website button “Dynamic URL", you can fill in the value that appears on the “Campaign” page.
- When the user clicks the Copy Offer Code button, the value you provide will be copied to their clipboard.
- When the user clicks the Visit Website button, they will be redirected to the URL specified for the button
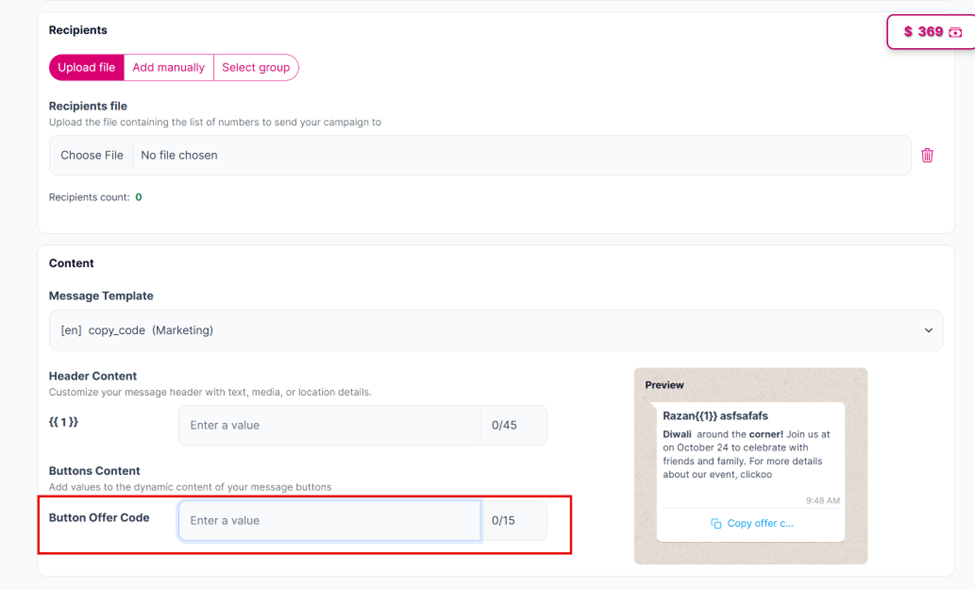
"Button offer code" button.
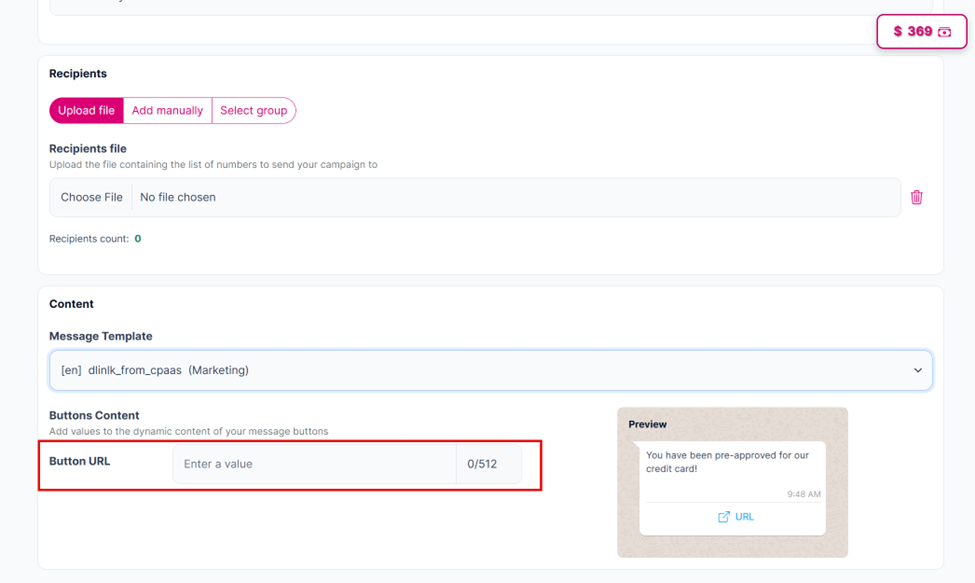
Visit Website button (dynamic URL)
For buttons like "Call Phone Number" or "Visit Website (static URL)",. You cannot assign a value to these buttons on the campaign page, as they automatically use the value specified during the template creation step. These buttons are fixed and do not require additional input.
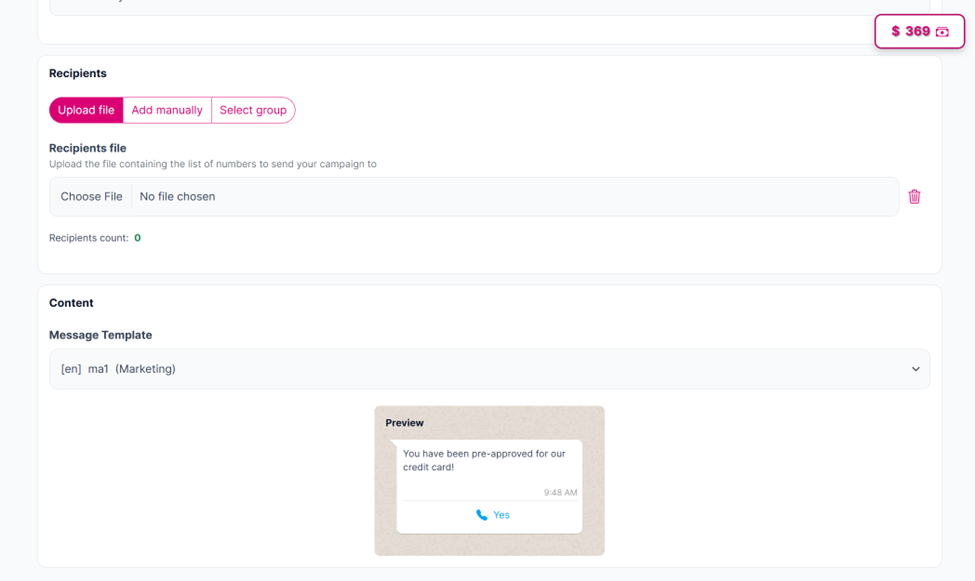
The "Call Phone Number" Button.
- Review all the details you’ve entered, then click on the “Submit” button to launch your campaign, or click on the “Back” button if you want to discard it.
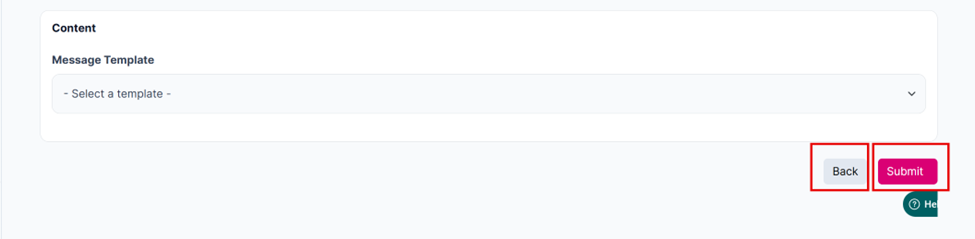
The "Submit" and the "Back" buttons.
- Once your campaign is created, a confirmation message will appear. And the campaign will be added to the campaign list along with its status and details. For scheduled campaigns, the status will be shown as "Scheduled."
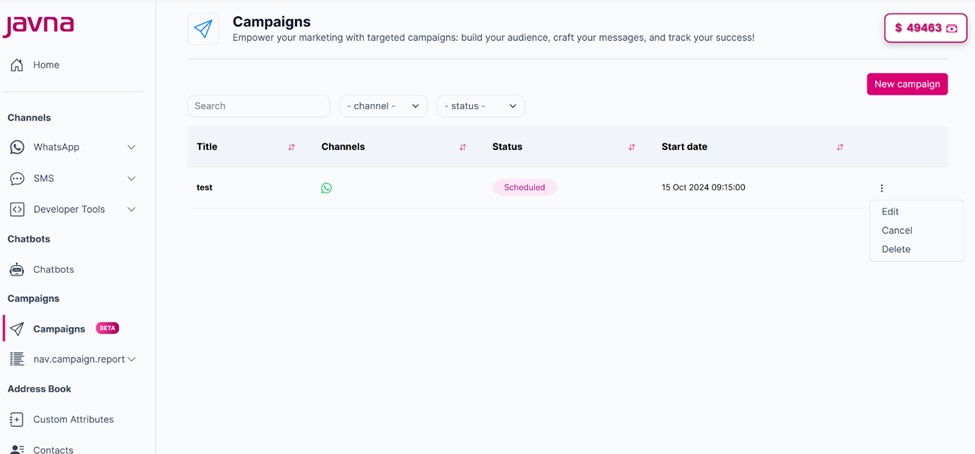
The "Scheduled" campaign appearing in the list.
**Note: **You will receive an email notification one hour before your scheduled campaign starts and a confirmation email once it’s completed. If there are issues that might cause your campaign to fail, you’ll get a warning email one hour prior to the start time, and if your campaign fails to send, you will receive an email outlining the reasons for the failure
Learn more about email notifications at this section