Creating Marketing message template
Follow these steps to create a marketing message template:
- Navigate to the “new template message” page and choose the marketing category. Refer to this section "creating "Message Template" .
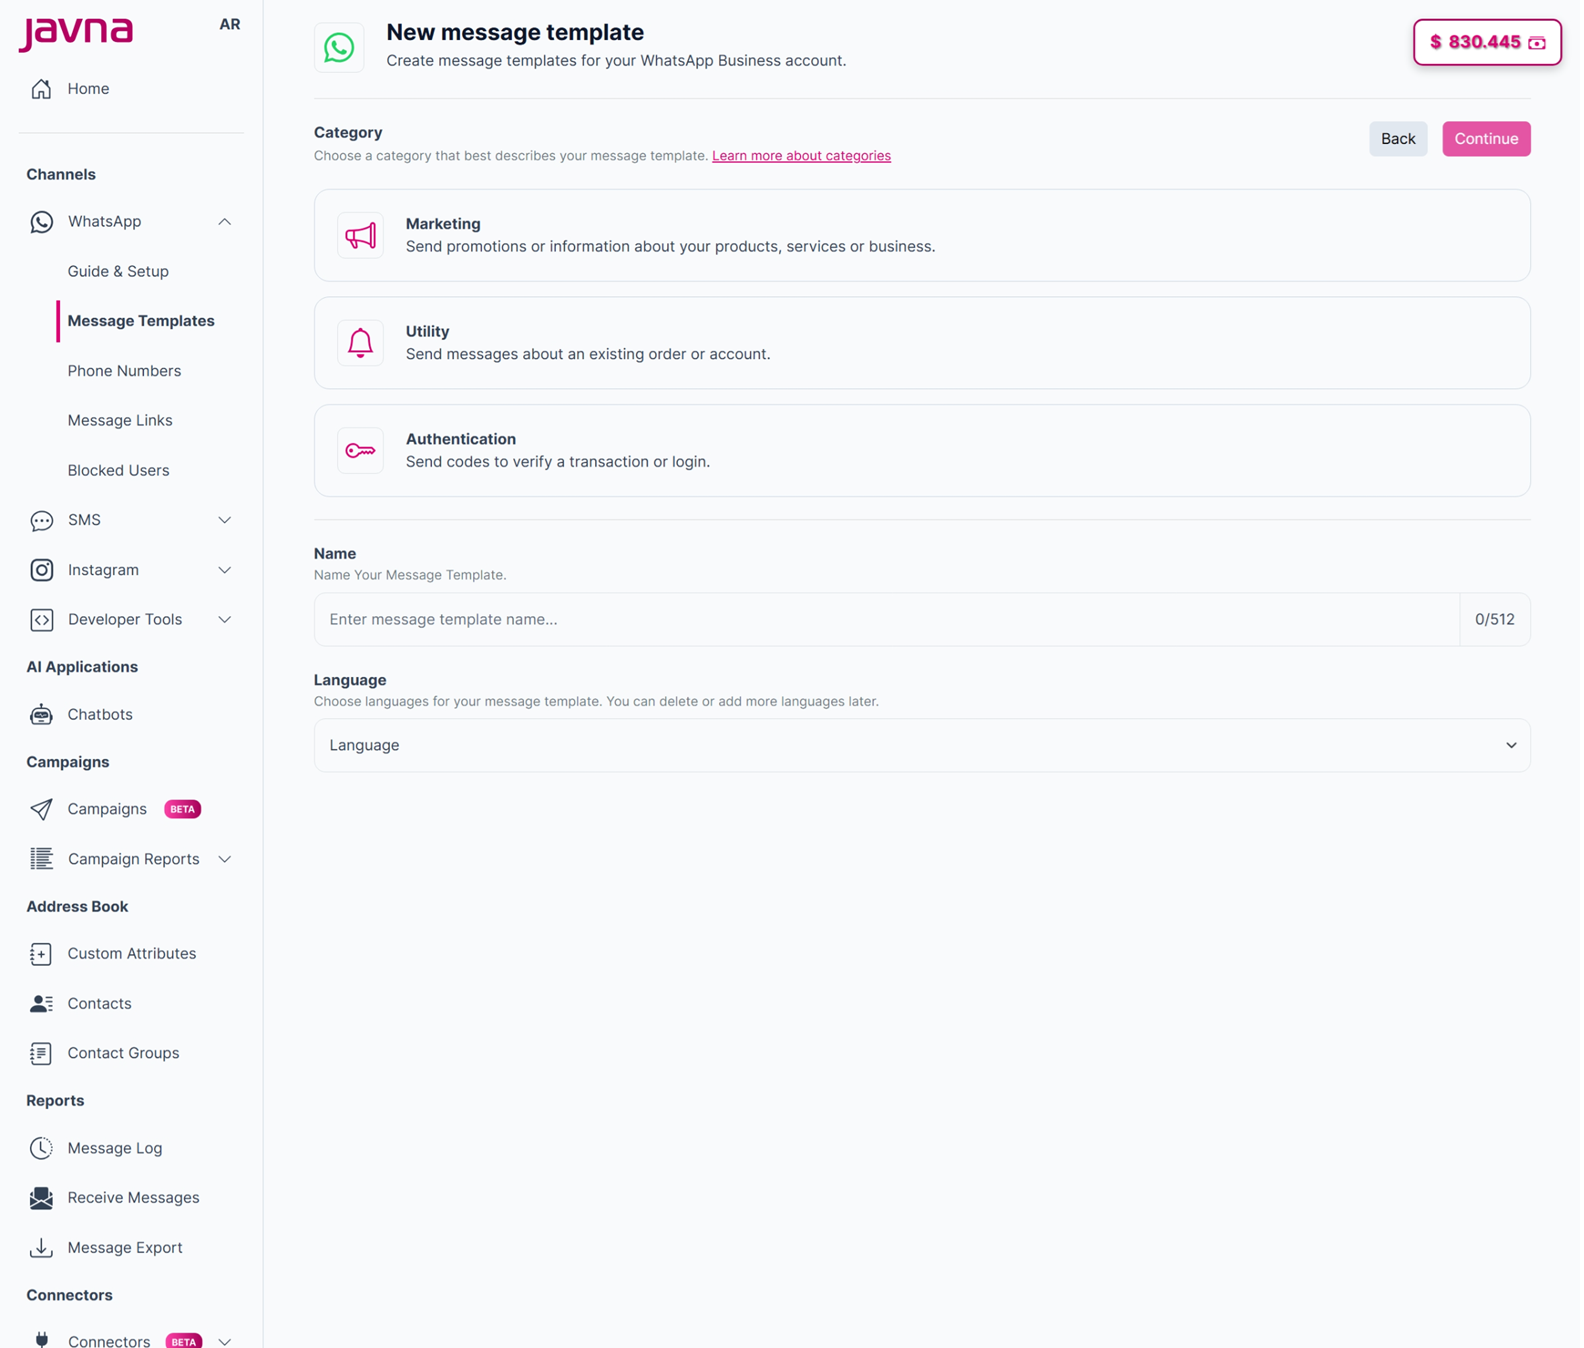
The "New message Template" page
- You will be automatically redirected to the "Edit Template" page.
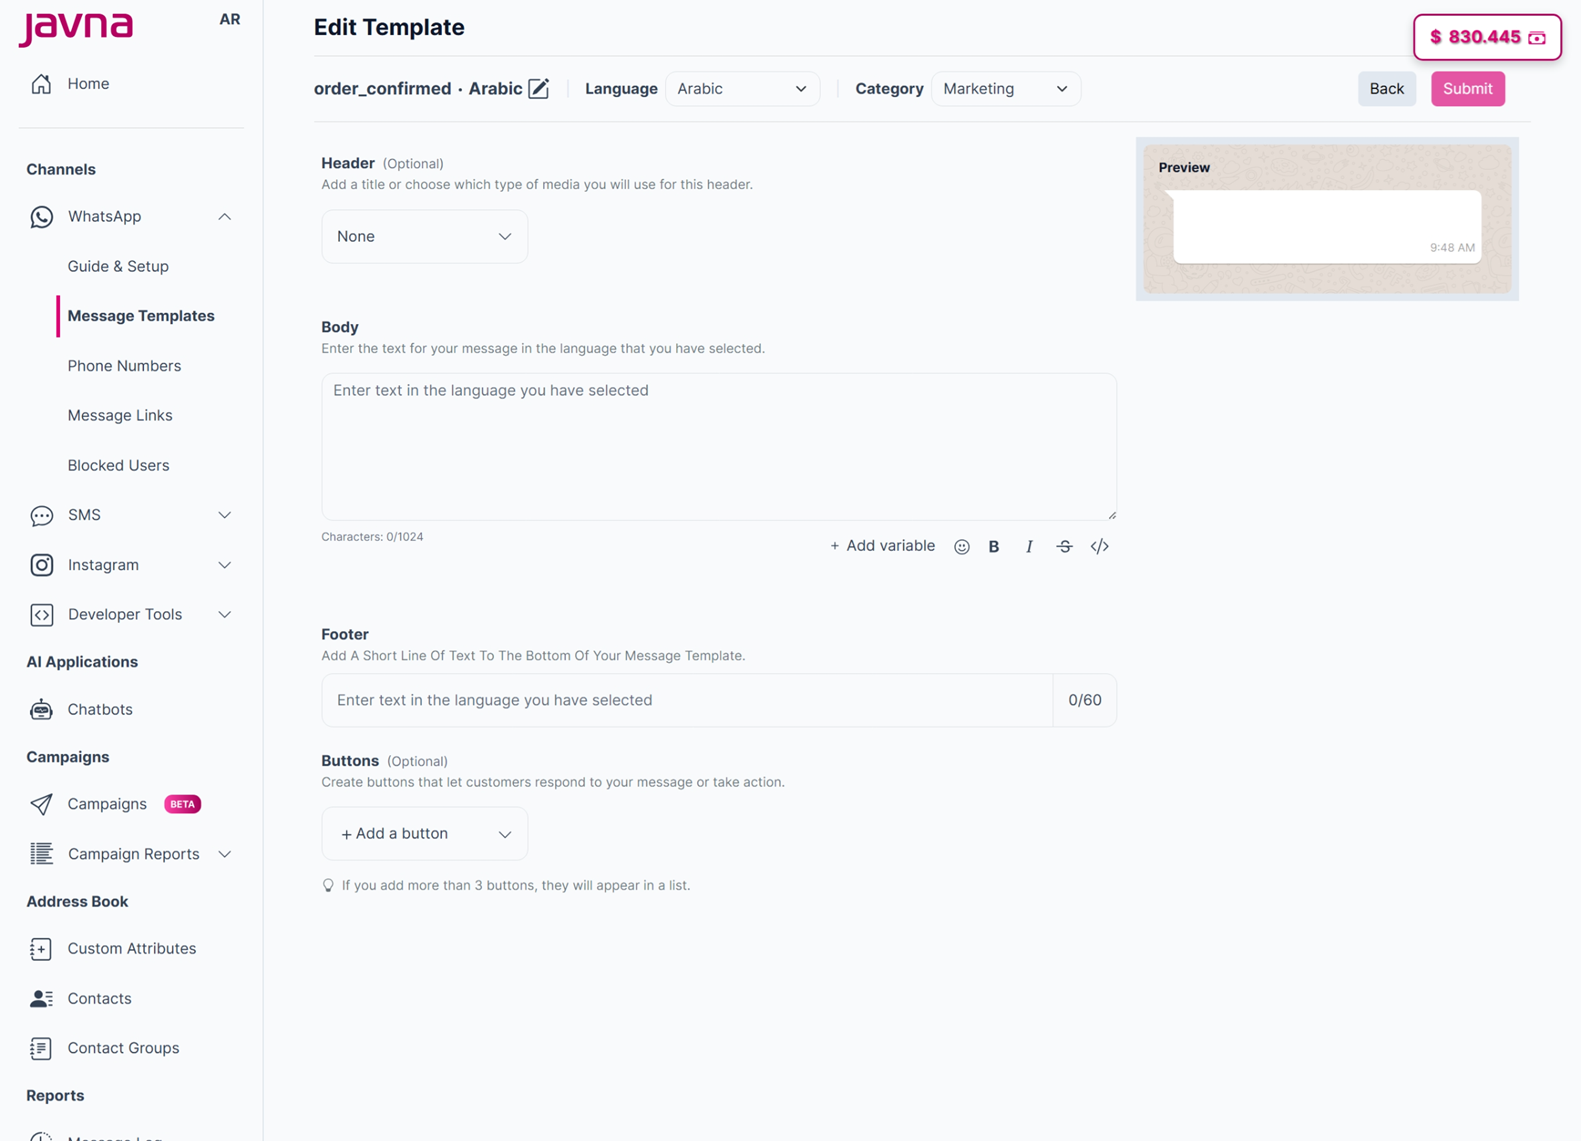
The "Edit Template" page
- Enter the body for your message template in the designated editor field.
Ensure that your message complies with the character limit of 1-1024 characters.
In the editor field, you will find some tools to help you format your message:
i. Adding Variables:
- This button allows you to insert placeholders in your message that will be replaced with specific and unique information for each recipient when the message is sent.
- Each variable will appear as a number within double curly braces, like {{1}}, {{2}}, etc.
- After clicking on the "Add Variable" button, you will need to add sample values for each variable in your message body.
- These sample values indicate the type of information that will be inserted, such as names, items, or times, without using real customer data.
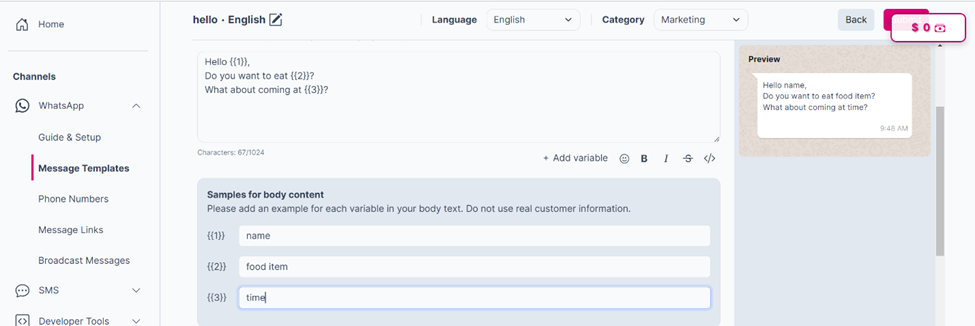
Adding variable in the message templates.
ii. Emoji: use this button to insert a wide range of emojis into your message template body to add visual expression.
iii. Bold: Use this button to apply bold formatting to selected text.
iv. Italic:: Use this button to apply italic formatting to selected text.
v. Strike Through: Use this button to apply strike-through formatting to selected text. "Strike Through" draws a line through the text, showing it's deleted or no longer relevant, but keeps the text in the document.
vi. Code: Use this button to apply code formatting to selected text, ensuring it remains unaffected by other text styles.

The tools in the editor field.
- Add Optional Components:
a. The Header: it is located at the top of the message. You can select one of the following options for the header.
I. Text: Enter up to 60 characters of text in the designated field. You can also add only one variable.
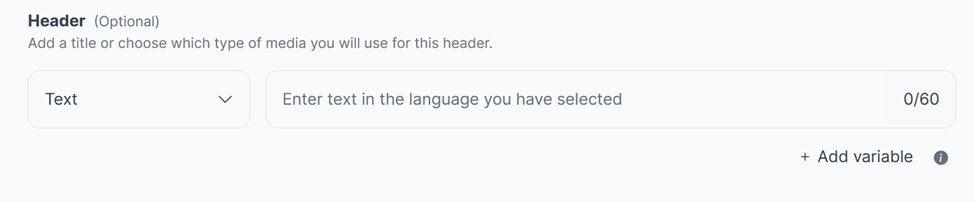
Choosing the text for the header.
II. Media: Choose from options such as:
- Image: Upload an image file.
- Video: Upload a video file in MP4 format.
- Location: Share a location.
- Document: Upload a PDF file.
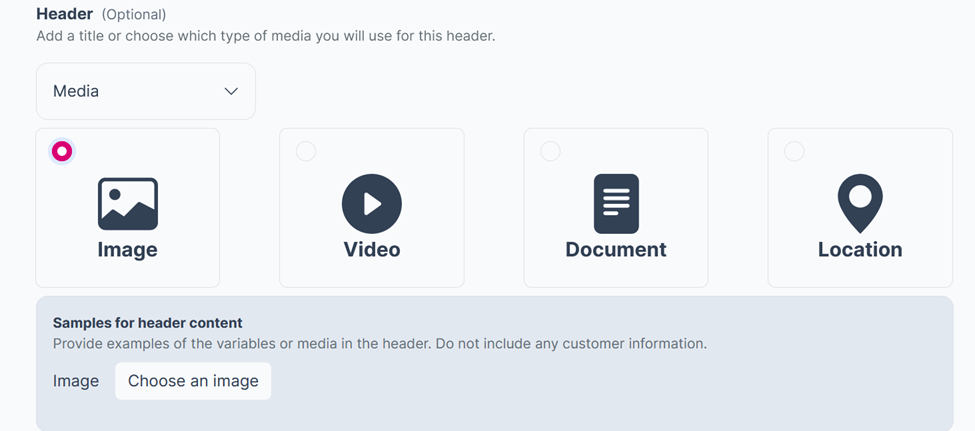
The media type in the header.
III. None: If you choose "None," no header will be included in the message.
b. The footer: You can include a brief line of text at the bottom of your message template. Please make sure that it’s no longer than 60 characters.

The footer.
c. Buttons: Design interactive buttons for customers to respond to your message or take action. There are two types of buttons:
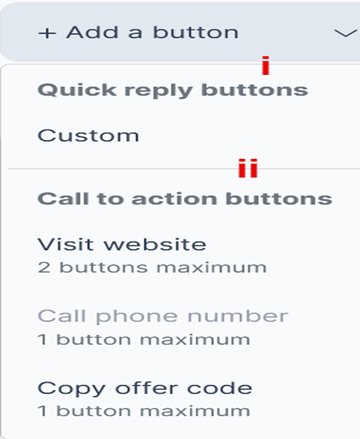
Adding Buttons.
i. Quick Reply Buttons: are preset response options in messaging interfaces, allowing customers to respond without typing.
By creating these buttons, you can define quick responses for your clients which facilitates for them to reply to your messages.
You have the ability to create up to 10 buttons, each with text of up to 25 characters.

Quick Reply (Custom) button.
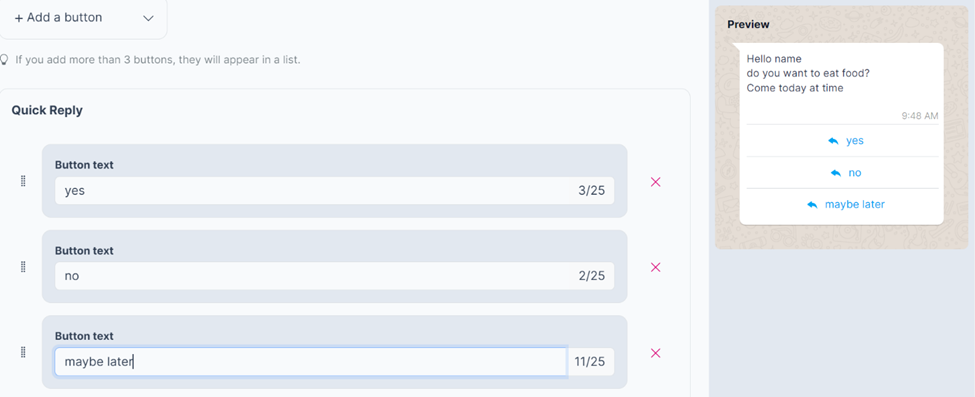
Specifying the quick reply to buttons.
ii. Call to Action Buttons: are interactive elements in a user interface that prompt customers to take a specific action, such as:
- The "Visit Website" button: it allows customers to navigate to a specific webpage by clicking on it. You can create up to 2 buttons with customizable text (up to 25 characters each) and choose between static or dynamic URLs.
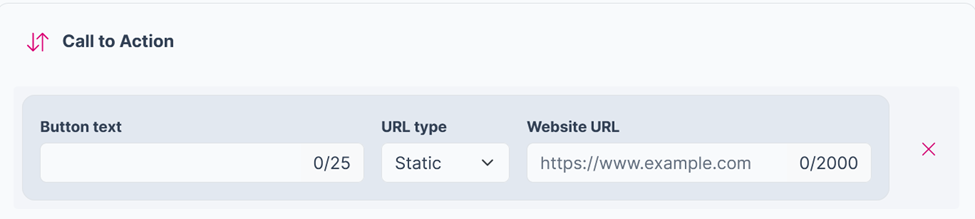
The call to action (visit website) button.
Please note that: For dynamic URLs, a field called "Add Sample URL" will appear, where you can enter the full URL, such as https://www.example.com/{{1}}. The dynamic part ({{1}}) will change based on specific parameters, allowing you to personalize the link for each customer.
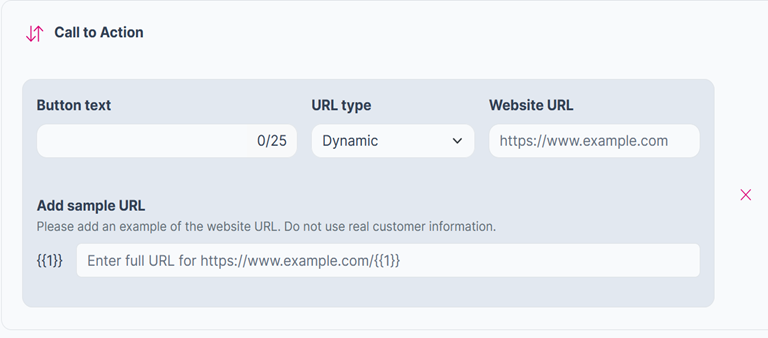
The visit website button with dynamic URL type.
- The "Call Phone Number" button allows customers to initiate a phone call by clicking on it. You can create 1 button with customizable text (up to 25 characters) and specify the phone number.
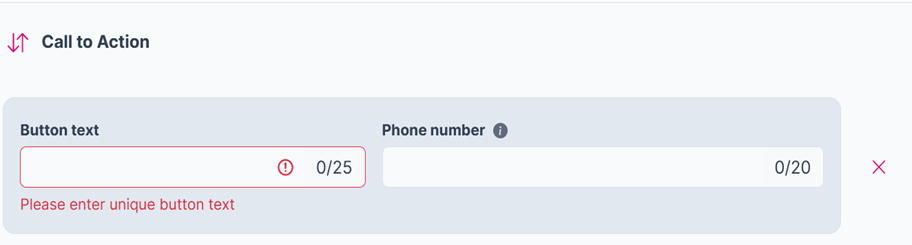
Figure 52: The call to action (Call phone number) button.
- The "Copy Offer Code" button enables customers to copy a promotional code by clicking on it. It supports 1 button with non-editable text ("Copy offer code" by default) and a sample offer code (up to 15 characters).
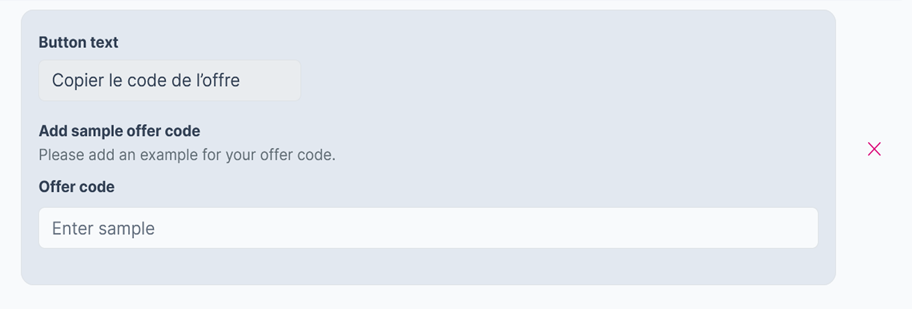
Figure 53: The call to action (copy offer code) button.
Note: The maximum number of buttons in one template = 10
- Once all fields, are filled correctly, click on the “submit” button. This action will:
• send the template to Meta for verification.
• add the template to the templates list with an "In review" status.